Adobe Photoshop is a powerful tool used by graphic designers, photographers, and digital artists to create stunning visual compositions. One of the key features that make Photoshop so versatile is the ability to adjust the opacity of layers.
Changing the opacity of a layer allows you to create a variety of effects, from subtle enhancements to dramatic transformations. In this article, we will explore how to adjust opacity in Adobe Photoshop to take your designs to the next level.
Step 1: Open Your Project in Adobe Photoshop
The first step is to open your project in Adobe Photoshop. You can start a new project or open an existing one by going to File > Open.
Step 2: Select the Layer You Want to Adjust
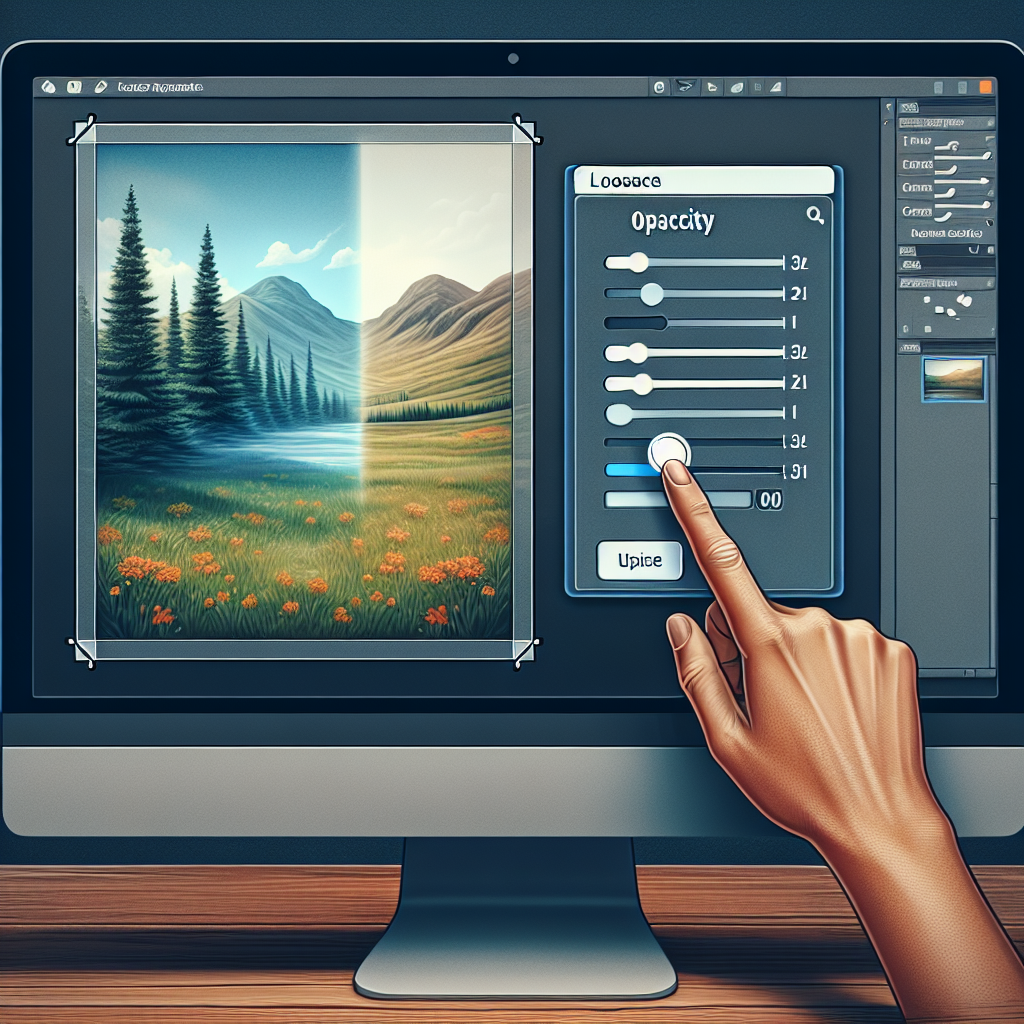
Next, select the layer you want to adjust from the Layers panel. You can easily change the opacity of a layer by adjusting the opacity slider at the top of the Layers panel.
Step 3: Adjust the Opacity
Once you have selected the layer you want to adjust, simply move the opacity slider to the left to decrease the opacity or to the right to increase it. You can also enter a specific opacity value in the opacity box next to the slider.
Step 4: Preview the Effect
As you adjust the opacity, keep an eye on your project to see how the changes affect the overall composition. Experiment with different opacity levels to achieve the desired effect.
Step 5: Fine-Tune and Save Your Project
Once you are happy with the opacity adjustment, you can fine-tune other aspects of your project and save your work by going to File > Save As.
Mastering the art of adjusting opacity in Adobe Photoshop will give you the creative freedom to explore endless design possibilities. Whether you are working on photo editing, digital painting, or graphic design, understanding how to control opacity will enhance your skills and take your projects to new heights.